I’m always see amazing displays online or in the store and think I could never bring myself to spend money on this cute stuff! This is a problem because I’m always styling displays whether it be blogging, weddings, birthday parties, church functions, school functions, or my home. You name it! One of my go to pieces to style with has always been a “cake” stand or pedestal.
I call it a to “cake” stand because these stands really are very diverse. You can put anything on them for all kinds of displays. Along with it being so diverse to use it’s an AFFORDABLE, EASY, and EFFORTLESS project. I made these for around $2 a piece! So much better than the average $42 right!
What to Look for at the Thrift Store
I’m going to show you how to make incredibly cute cake stands for $2! Go to the thrift stores people! This project is so fun because you can make it your own style when thrift shopping for the pieces. I’ve made dozens of these stands over the years but I’ve left them at events or church. They are ALL GONE! HA! I needed to make some stands for a project I was styling so went went to my go to place for supplies, the THRIFT STORE. I like to check there before I go spending money anywhere else. More often than not I find what I need to make things come together.
I’m sure most of you have been to the thrift store, but if not find the isle with all the glass dishes. There’s usually a full isle if not multiple isles full of glass dishes. All sizes, shapes, designs, detail…. SWOON! If I had space I would hoard this stuff! Choose a few plates the size that you are looking for. Saucer, large and simple, something more like a pie dish with a lip. It doesn’t matter what color because you’re going to paint it. Or leave it if you prefer!
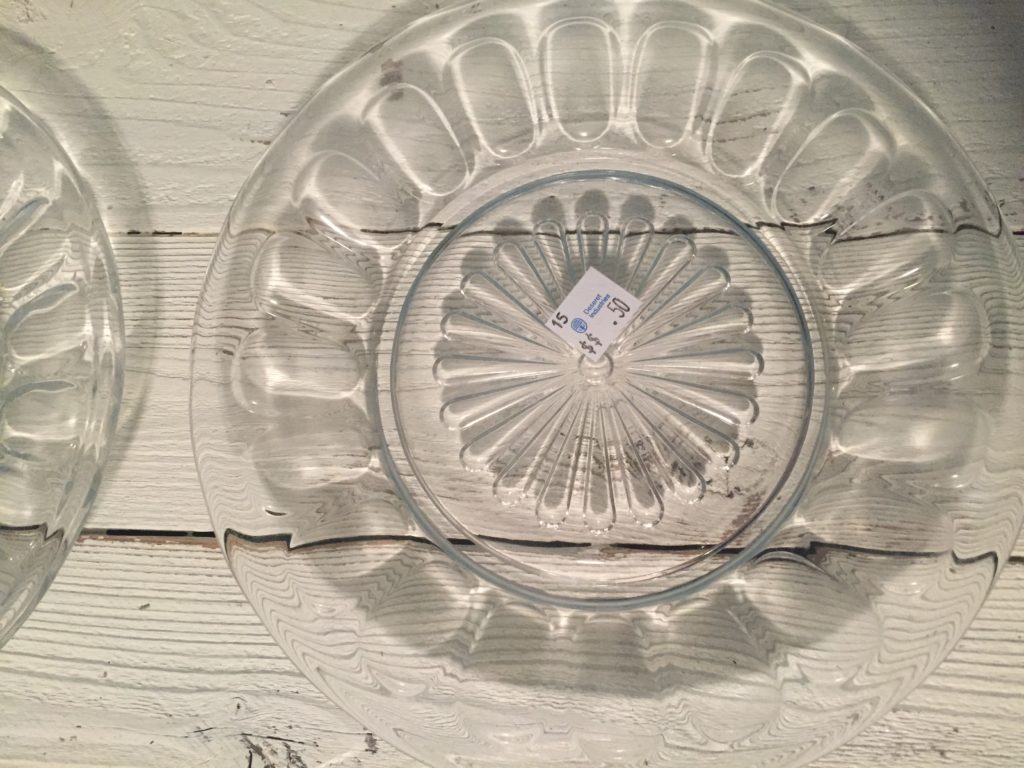
I grabbed two of this saucer size for my stands/pedestals this time and they were .50 each! Cheaper than even the dollar store!
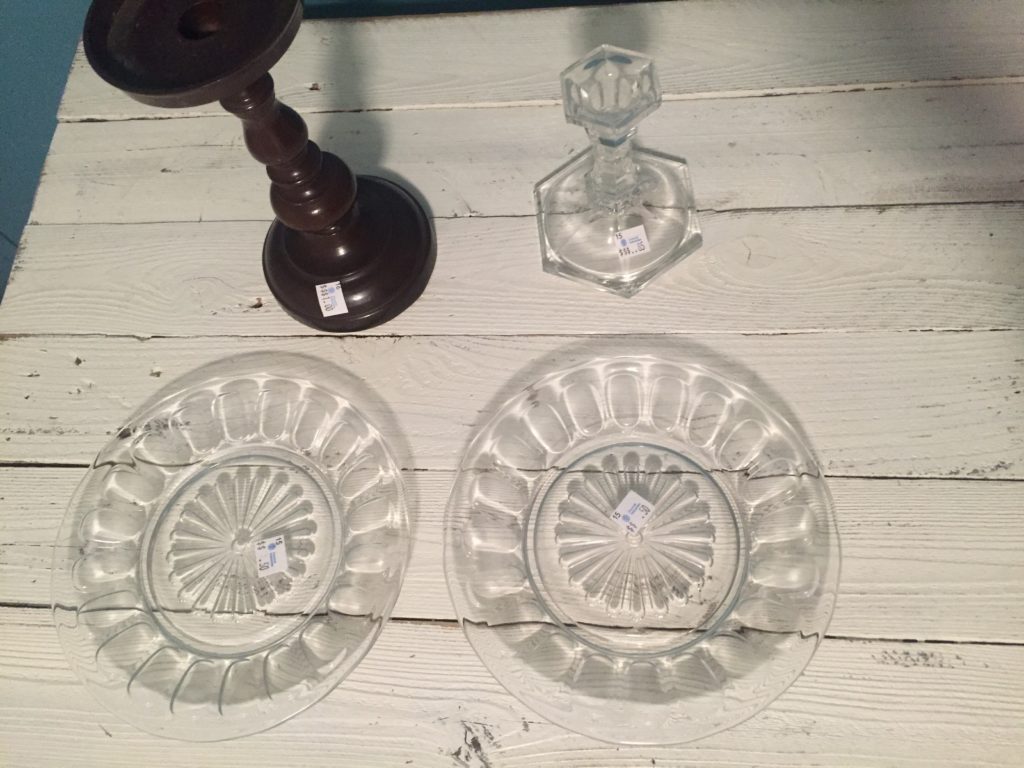
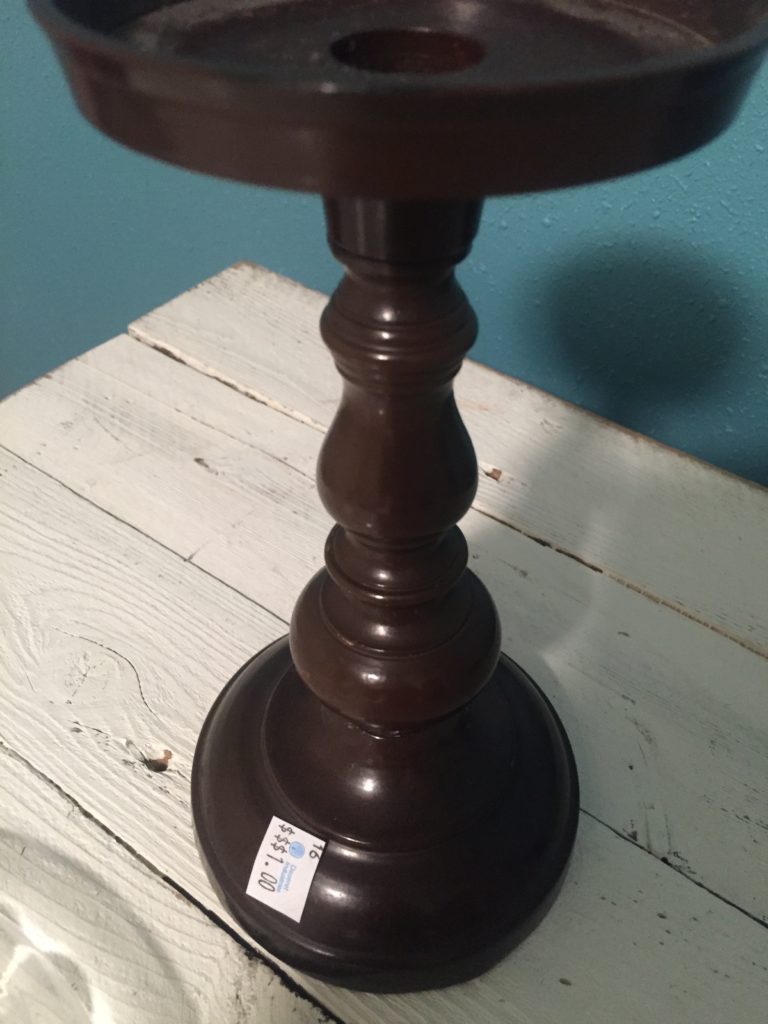
Next, find the isle with glass nick nacks and / or candles. Look for candle holder such as the ones I choose below. But really it doesn’t even have to be a candle holder! It can be anything that you can make the base of the stand out of. Just make sure you get a base to support your plate/top. If you choose a large heave plate/top make sure to choose a somewhat wide and heavy bottom so your stand won’t tip over.
It’s so fun to look for different pieces to make it your own. I love big and chunky pieces usually.
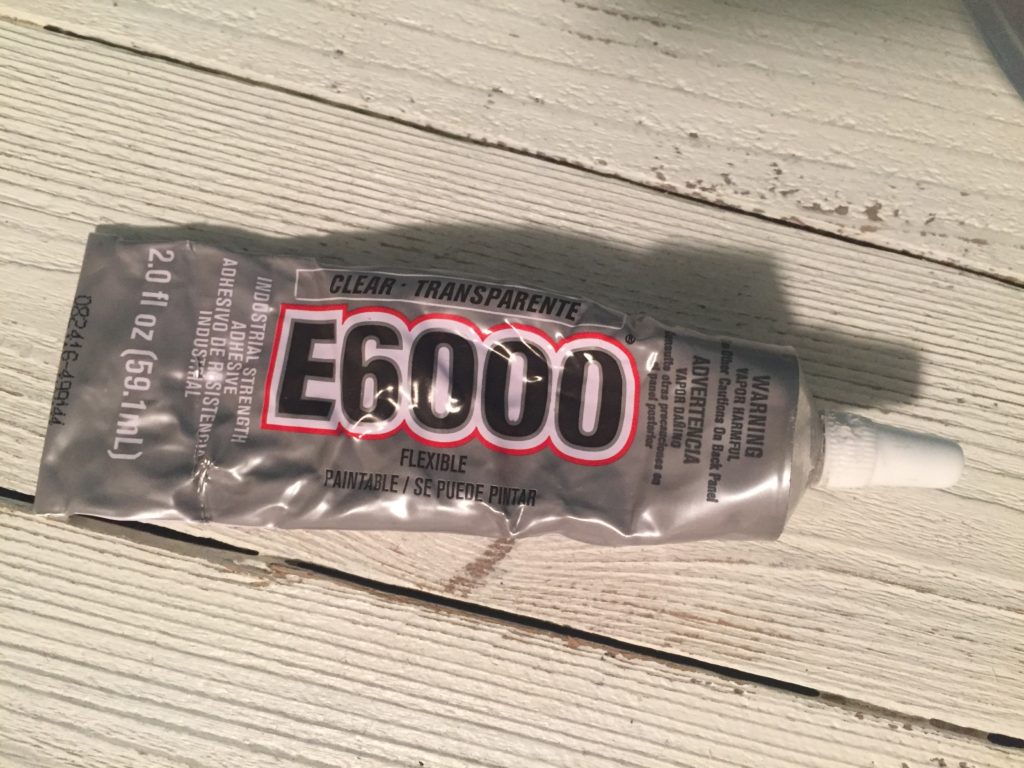
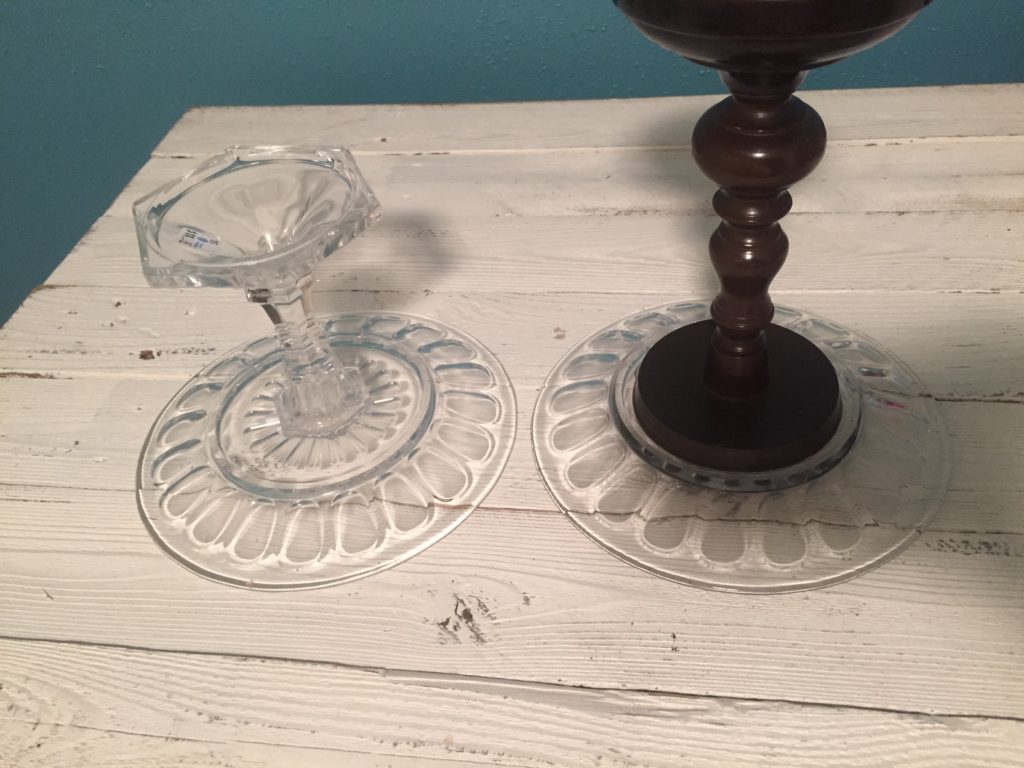
Then comes the gluing. If you don’t have some, you need to buy E6000 glue. I usually get mine at Walmart for under $4. I have a couple tubes on hand and use it all the time! This adhesive is legit! Once is on it NEVER coming off! It seems a little runny at first but after it sets it STRONG! After I put the adhesive on I usually let it sit overnight to dry. Especially gluing glass. I would hate for it to break or hurt someone. I put the glue on and turned them upside down to dry overnight. See the pictures below.
Once the glue dries it’s time to paint! I usually have KILZ spray paint from Walmart on hand. I’m a spray paint queen! For real though! I even spray paint furniture. Get a piece of old newspaper and throw it the lawn and get a good coat of spray paint on the stands. Make sure you look all around and cover them well. I usually get away with one coat of KILZ primer.
For me I like the white matte finish the KILZ give the stands. I usually don’t put anything else on them. That way I can dress them up with ribbon or whatever. But you can certainly paint them any color you like or use a white spray paint for a more glossy look!
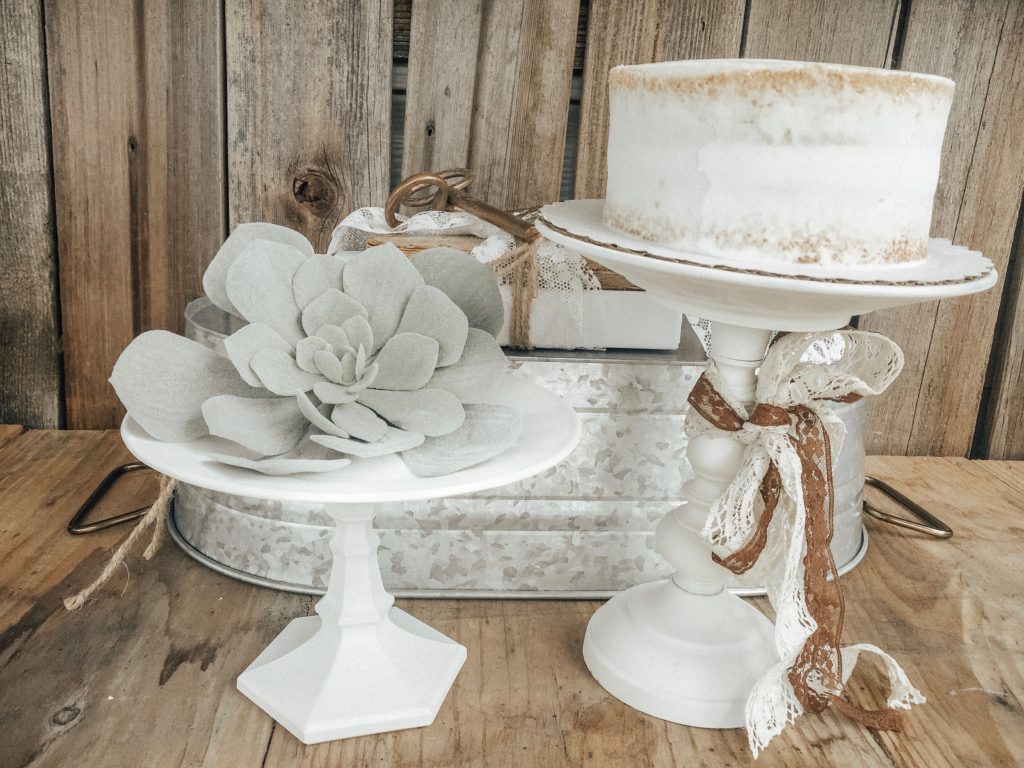
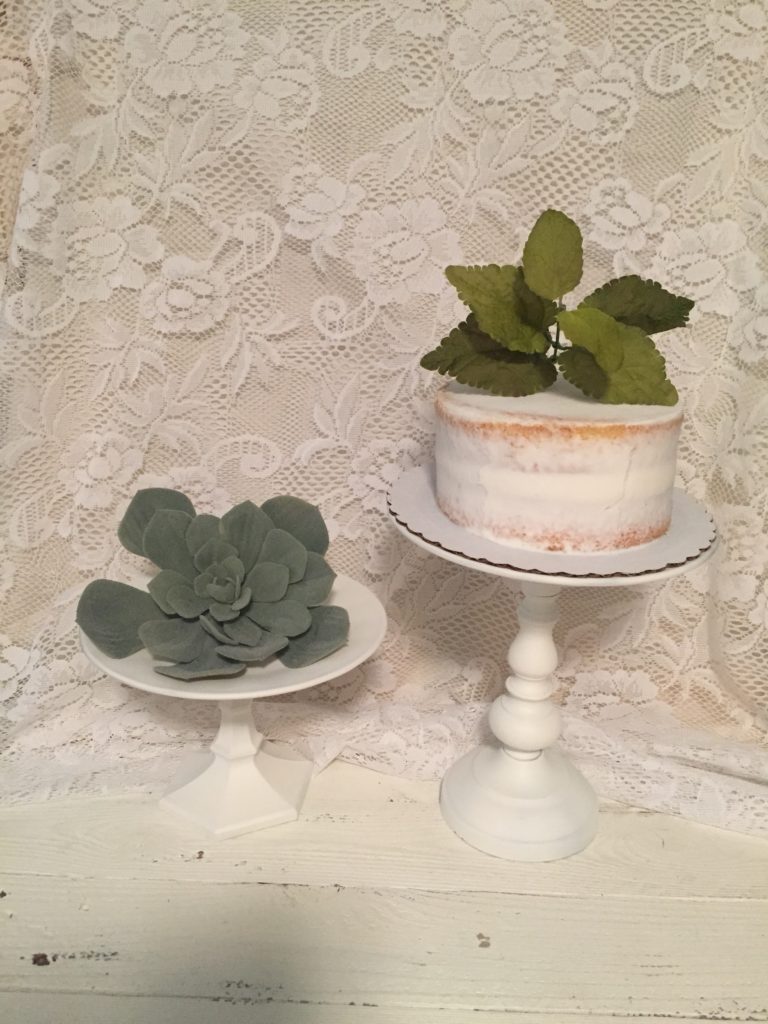
Here’s my finished product!
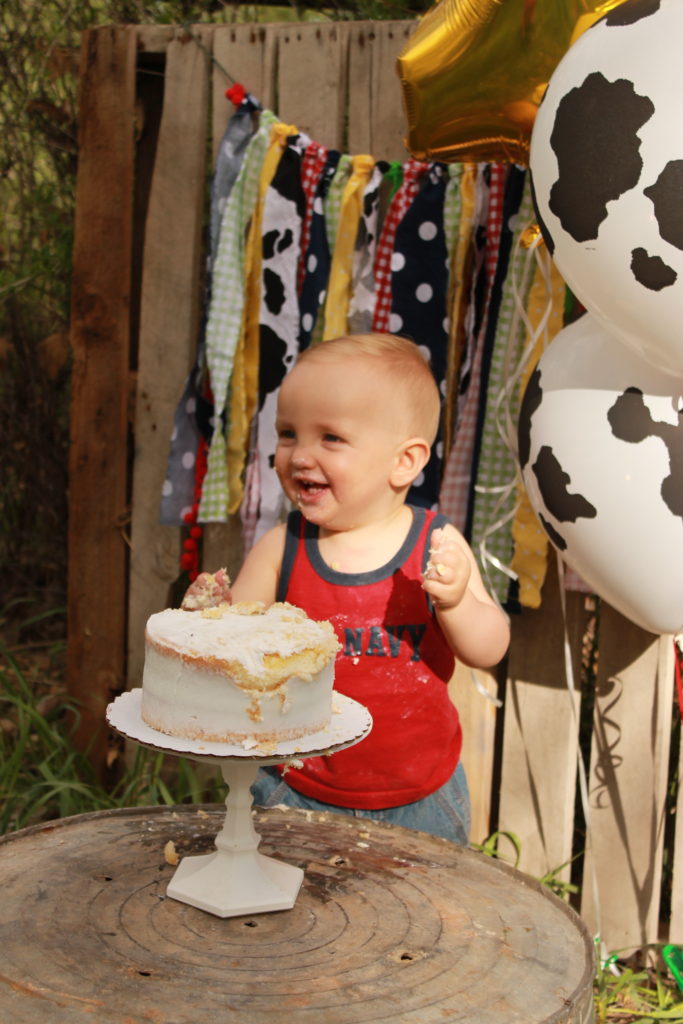
Also here’s a picture of one of the cake stands being used in my one year olds pictures. I love it! With a $2 stand I am ok if it gets broken and lost. I really am horrible at keeping track of my decorations! These stands are so fun to dress up for any event you’re having. They go from elegant to kid birthday party just like that!
There you have it! My $2 cake stand! I hope you enjoy making yours! Follow me on Facebook, Instagram and Twitter! Thank you for reading!
Natalie your cake stands look fabulous. I have done the same thing. I found a really cute cheese dome with glass lid for $4 at Goodwill. Spray painted it and added a candlestick. It was so shabby chic and I used it for years. Love the white matte finish.
I love the cheese domes also!
Natalie your cake stands look fabulous. I have done the same thing. I found a really cute cheese dome with glass lid for $4 at Goodwill. Spray painted it and added a candlestick. It was so shabby chic and I used it for years. Love the white matte finish.
Love these. I made so me for holiday decorations. They work great for so mamy things.
How fun! Thanks for visiting my page and leaving a comment!
Hey Natalie,
These cake stands look so awesome. They are just perfect for any party.