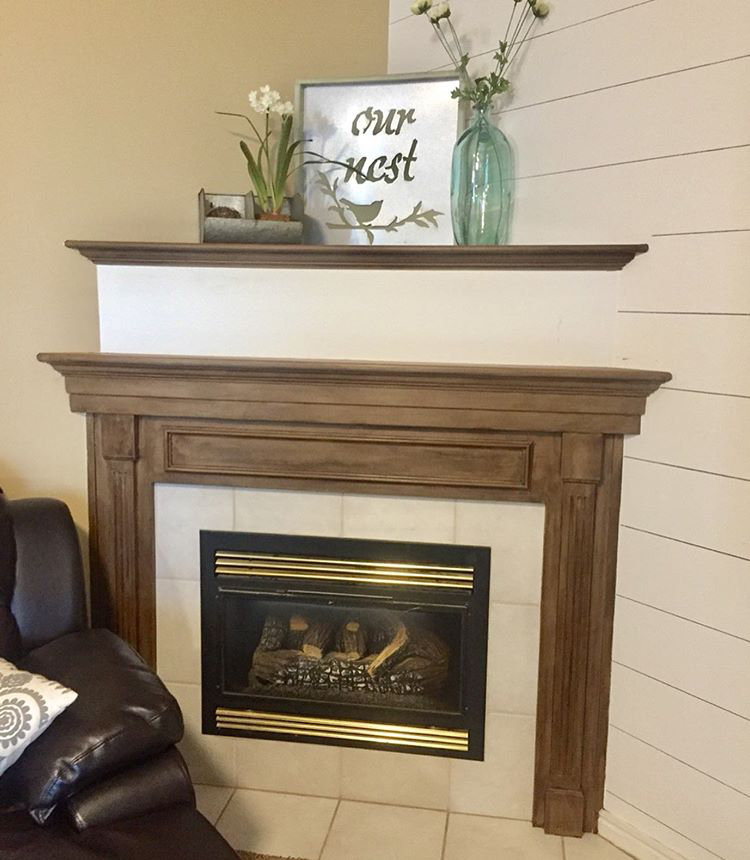
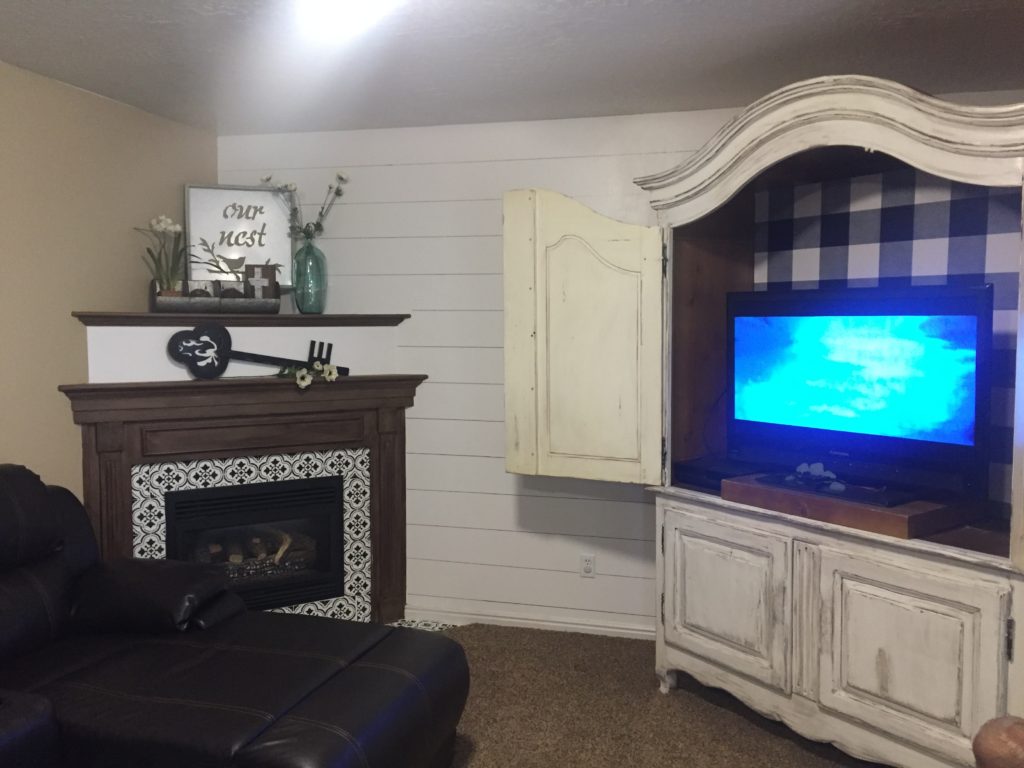
I’m happy to finally share the details of my budget friendly fireplace makeover with you! We are three months into our new home and making progress a little every day. I was so nervous with this project because I was painting wood and tile. Two things you can’t reverse! But every time a part would get finished I was so pleased with the outcome! I’m glad I just went for it!
My home is beautiful but very 90’s style and outdated. There is tons of this color of wood throughout and brass fixtures.
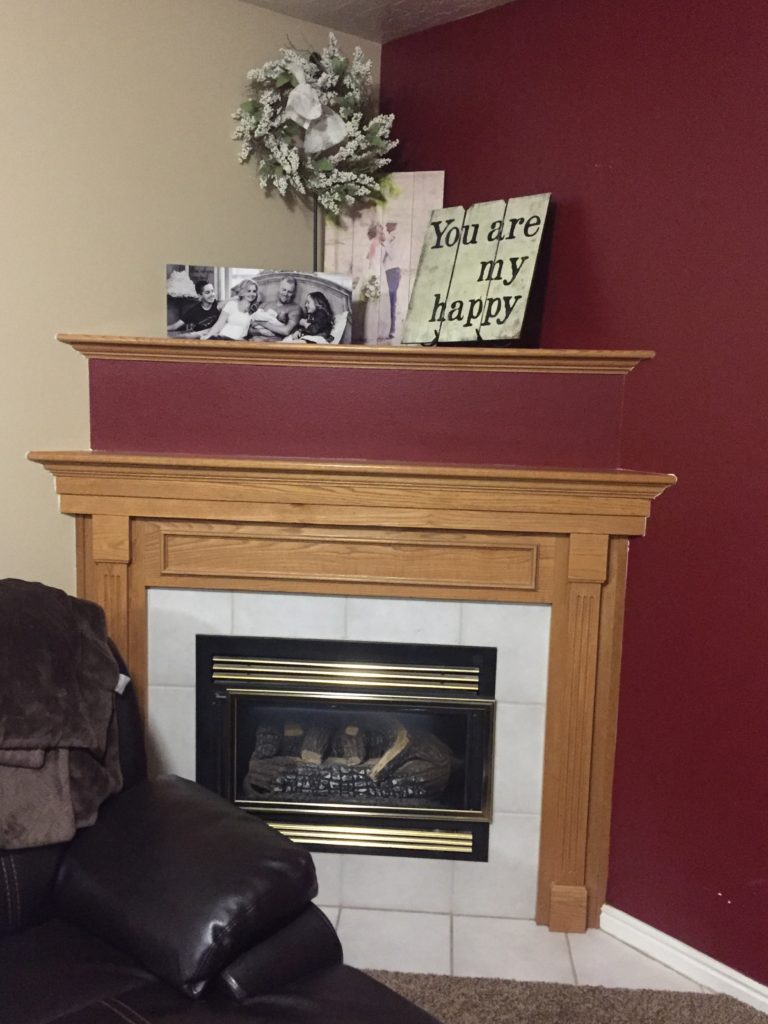
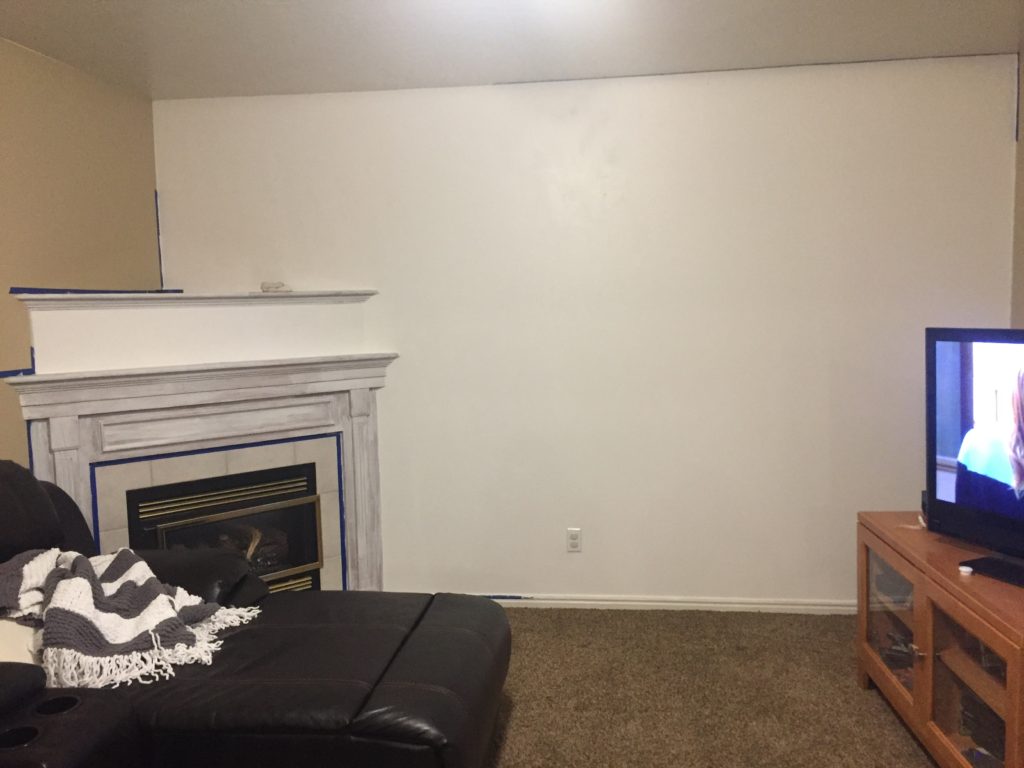
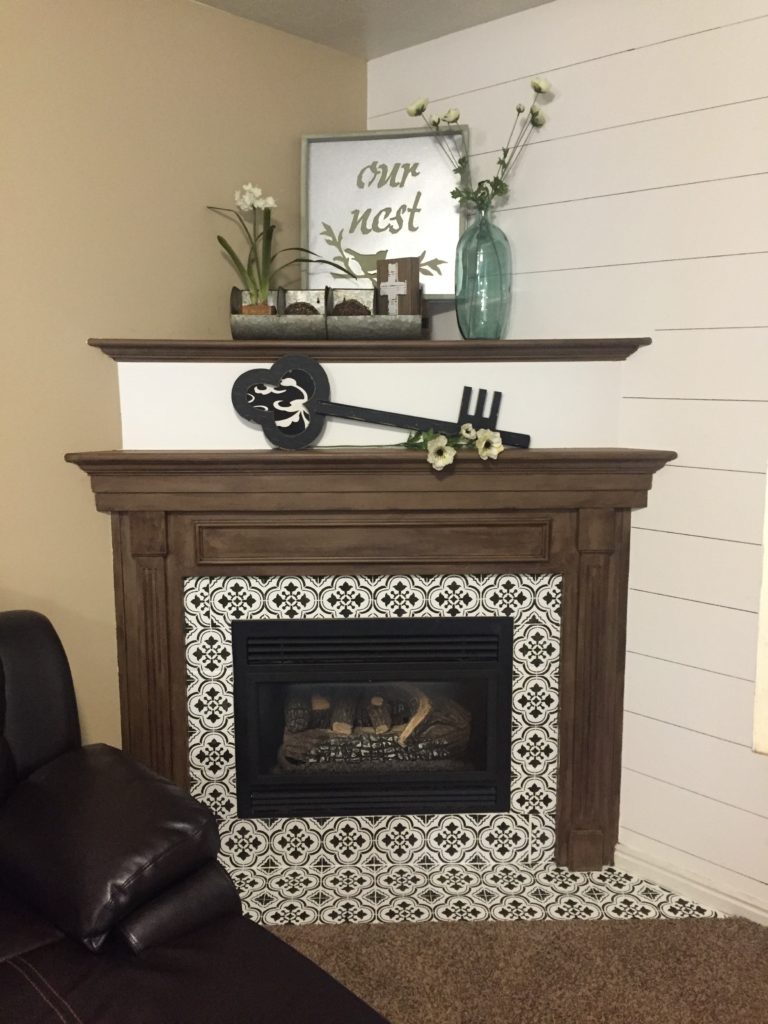
This one wall and fireplace has been quite the process so I’m glad to be wrapping it up. I started by painting the maroon wall you see in the picture above. The DIY Faux Shiplap tutorial I used can be found HERE.
Next, I started working on the wood surrounding the fireplace. I couldn’t for the life of me decide what color I wanted to paint it! STRESSFUL! It sat with primer on it for a few months while I researched my brains out on paint colors!
I finally decided I wanted to chalk paint, but had never used chalk paint before. I then realized how expensive chalk paint is and couldn’t bring myself to spend the money. Luckily, I found a lightly used can of “Annie Sloan Honfleur” chalk paint at a yard sale for $4! Score! My friend let me use some of her “Annie Sloan Pure White” and “Annie Sloan Dark Wax”. I was glad because I didn’t want to spend over $60 on paint for the small amount that I needed. I then purchased Valspar Sealing Wax for Chalk Paint Projects. I wasn’t sure how well Valspar brand would go over Annie Sloan Chalk paint but it turned out great!
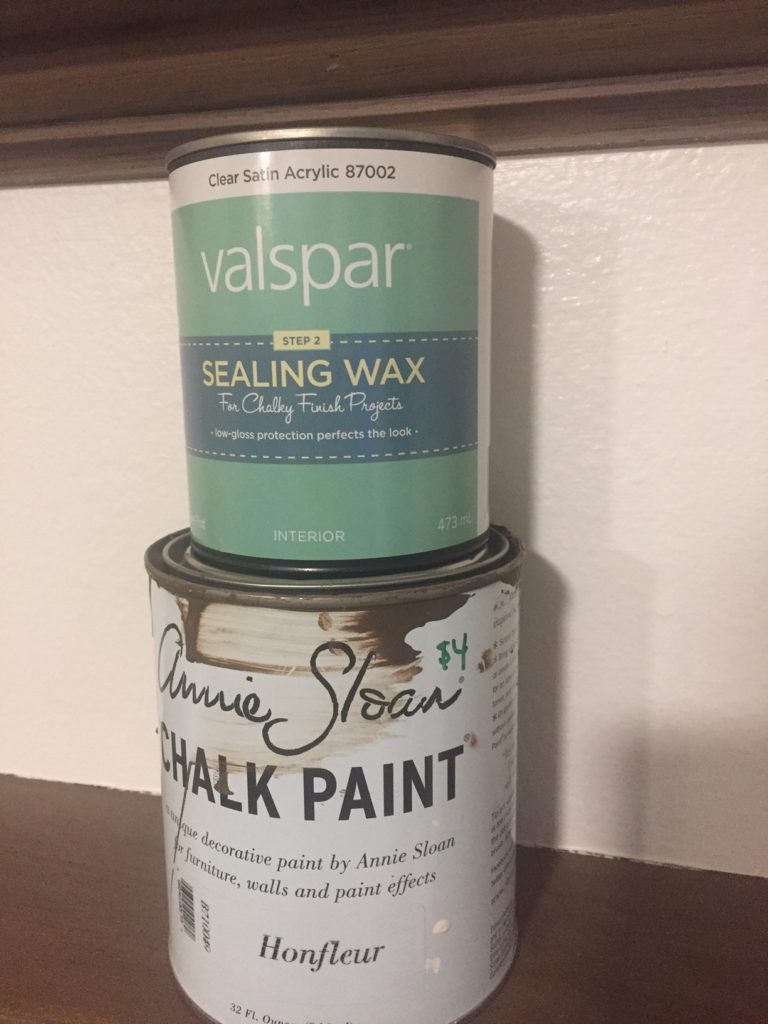
The most important thing I learned when chalk painting was, you HAVE to put clear wax on before putting the dark wax on! I didn’t know this and learned the hard way. I had to repaint a section.
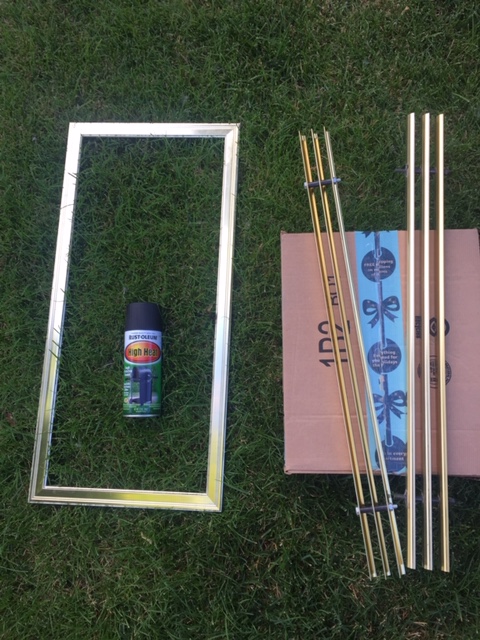
Gold Had To Go!
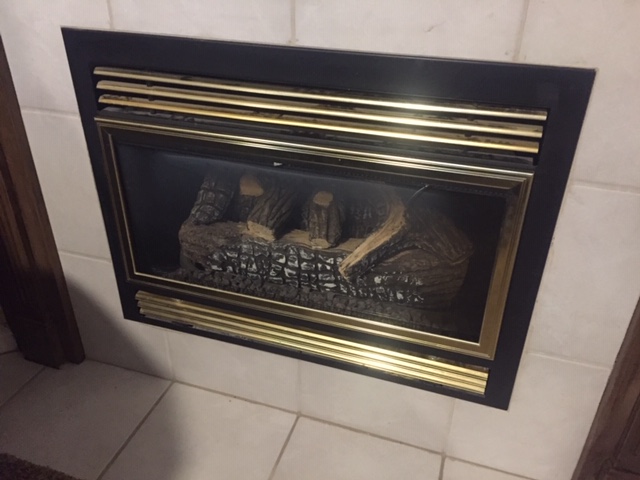
The outdated gold metal around the fireplace needed to go! I found this “Rustoleum High Heat” spray paint that is used on grills and such and will hold up against the heat of our fireplace. I removed the gold, hardware took it outside and sprayed them!
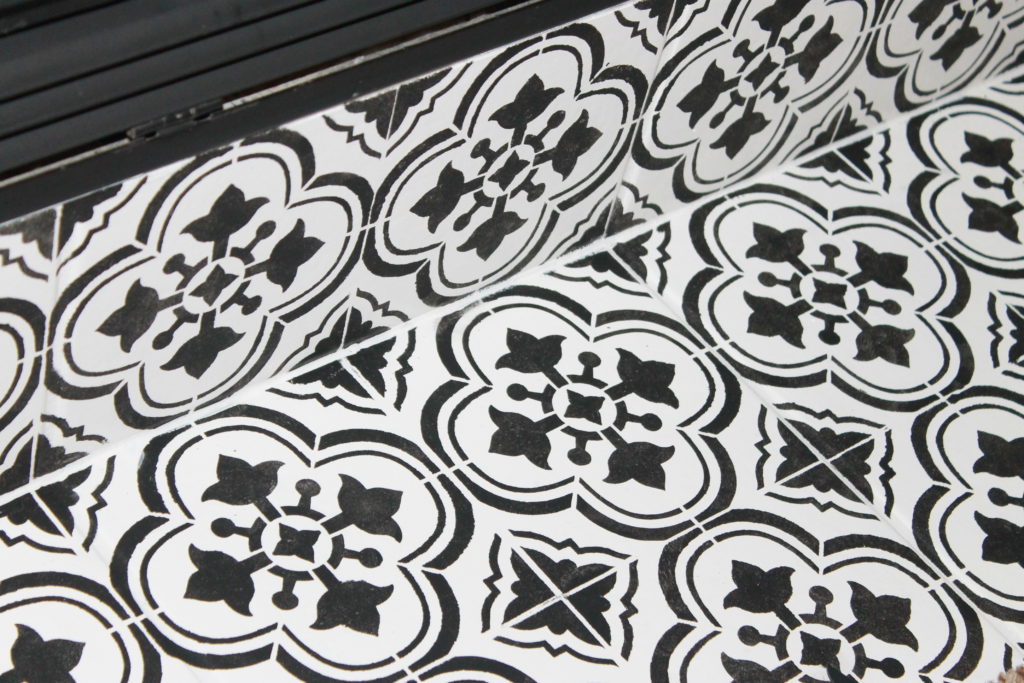
I waited until I was done with the next step (stenciling) to put the freshly spray painted metal back on. Looks a ton better!
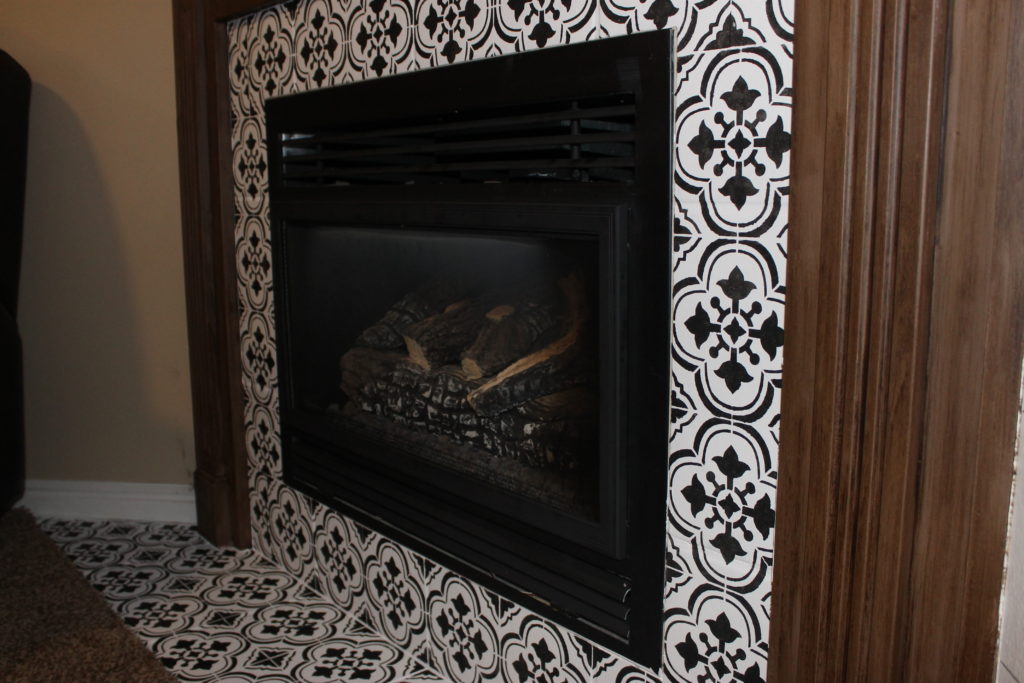
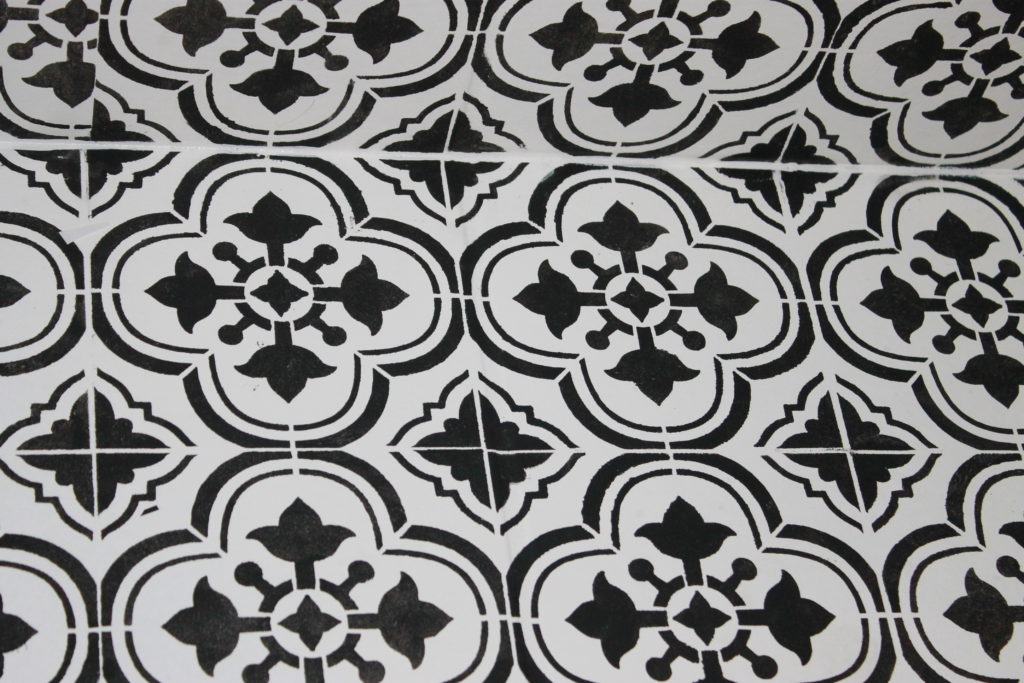
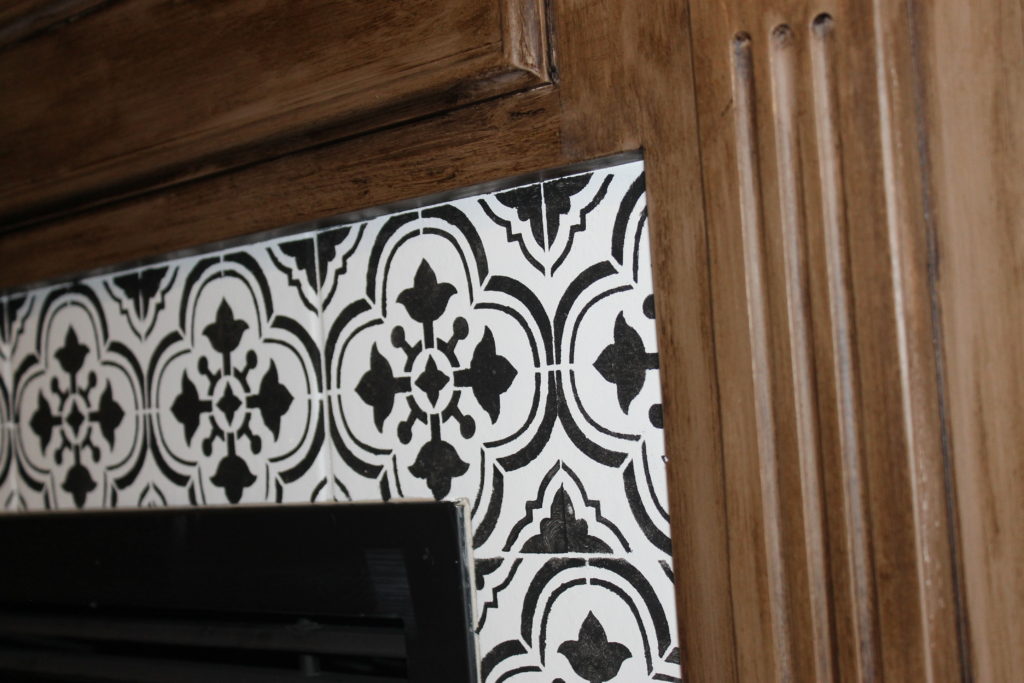
Tile Stenciling
This was my favorite part of this project! It added so much character to not only the fireplace but the entire room! Here’s my stenciling process.
Supplies
- Small dense foam roller
- Kilz paint primer
- Easy to remove painters tape
- Valspar white paint (Swiss coffee)
- Black acrylic paint
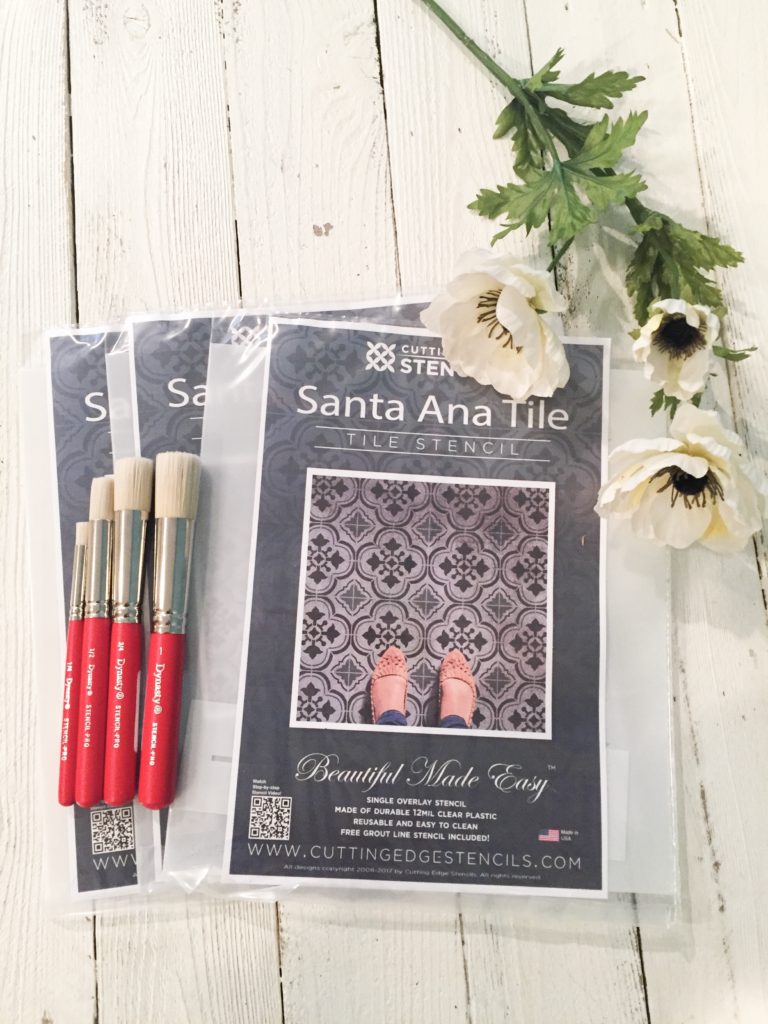
- 6” Santa Ana Stencil from Cutting Edge Stencils
- 4 Pc. Stencil Pro Stencil Brush Kit
- Spray adhesive
- Small craft brushes for tiny mistakes
- Paper towels
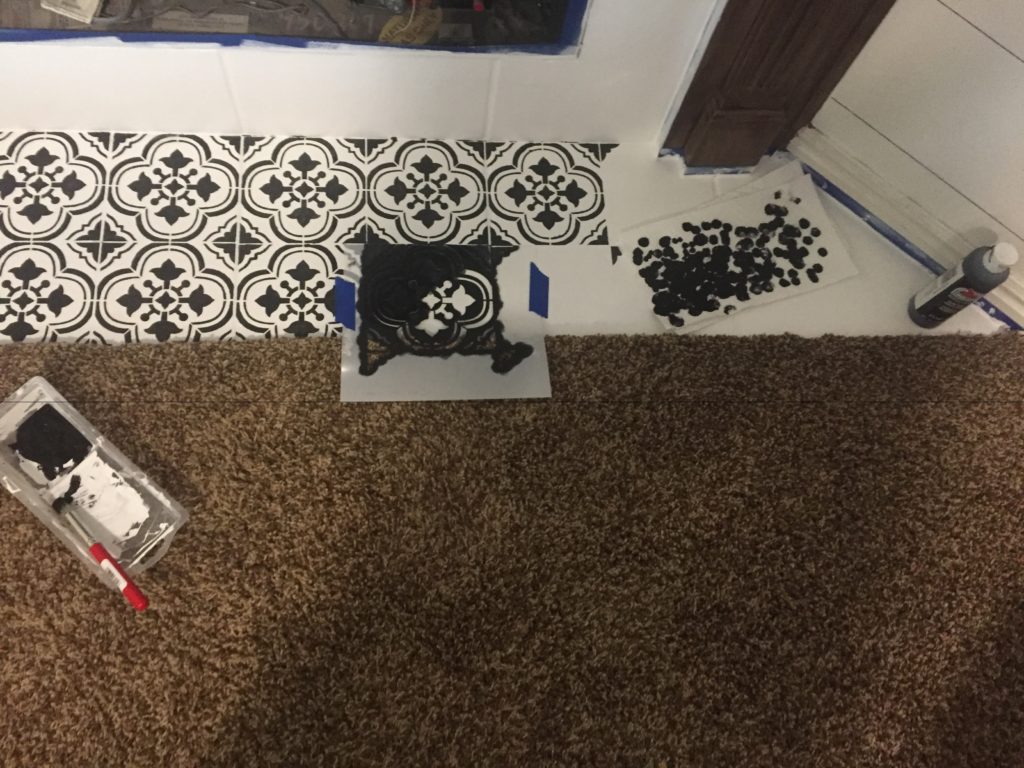
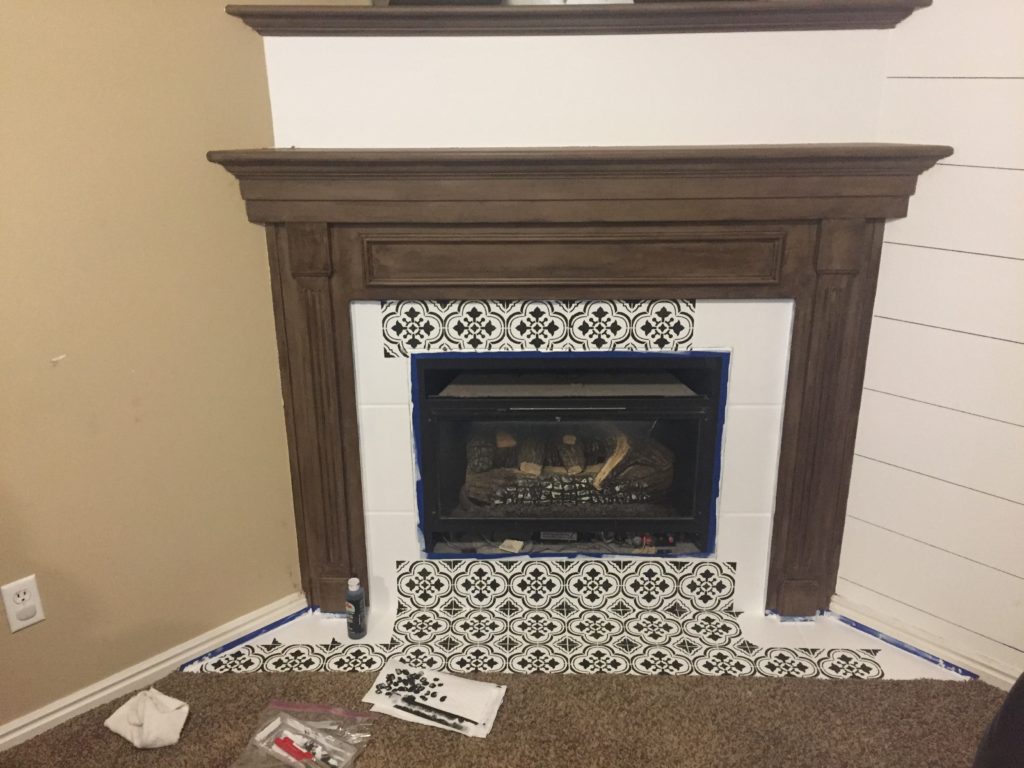
Step 1: Prime and Paint
First I used a clean rag to wipe the tile clean. Then tape everything off that you don’t want paint on. I then used a dense foam roller and put two coats of Kilz paint primer on the tile. I had to use a small craft brush to get the edges of my fireplace and by the carpet. I would suggest going around the edges first with the brush and then roll as close to the edge as you can with the roller to smooth over any paint lines. I also used a straight edge to put along the carpet and pull the carpet back to paint the tile next to the carpet.
Next I painted the tile with the same color as my faux shiplap wall. I wanted them to flow together with the different patterns. The color I used was Valspar Swiss Coffee from Lowe’s. I used two coats of this.
Stencil
Next I got my beautiful Santa Ana stencils from Cutting Edge Stencils. You must check out their website! So many amazing stencils to choose from! I’m already planning more stenciling projects!
Make sure you have more than one stencil to use. I used 3 6″x 6″ stencils. Using more than one stencil makes the process go faster and you will need to cut and trim the stencils to fit around corners and edges. My fireplace had wood detail that me and my husband had to get pretty creative with.
I then followed the instructions from the Cutting Edge website linked here, to lay my stencil with spray adhesive. BRILLIANT! I never would have thought to lightly spray the stencil with spray adhesive to get the details to stay in place. It makes for very clean paint edges! Luckily I had some adhesive in my craft closet!
After I stuck my stencil in the place I wanted it I used some black acrylic paint I had, also stashed in my craft closet. I literally used a quarter of a bottle of acrylic paint. Because you want the paint on your brush to appear dry when you stencil, you use very little paint. For example, dab your stencil brush in the paint and then dab it off on a paper towel before stenciling. This creates clean lines and prevents smudging under the stencil. It’s explained very well on the Cutting Edge website.
I didn’t follow my tile lines for this project. I used the guides on the stencil. You can’t even see the tile lines once finished. The most difficult part I found was cutting the stencil and bending it to fit the edges. This is where I had some smudges that I used my small craft brushes to go back over with white paint to touch up.
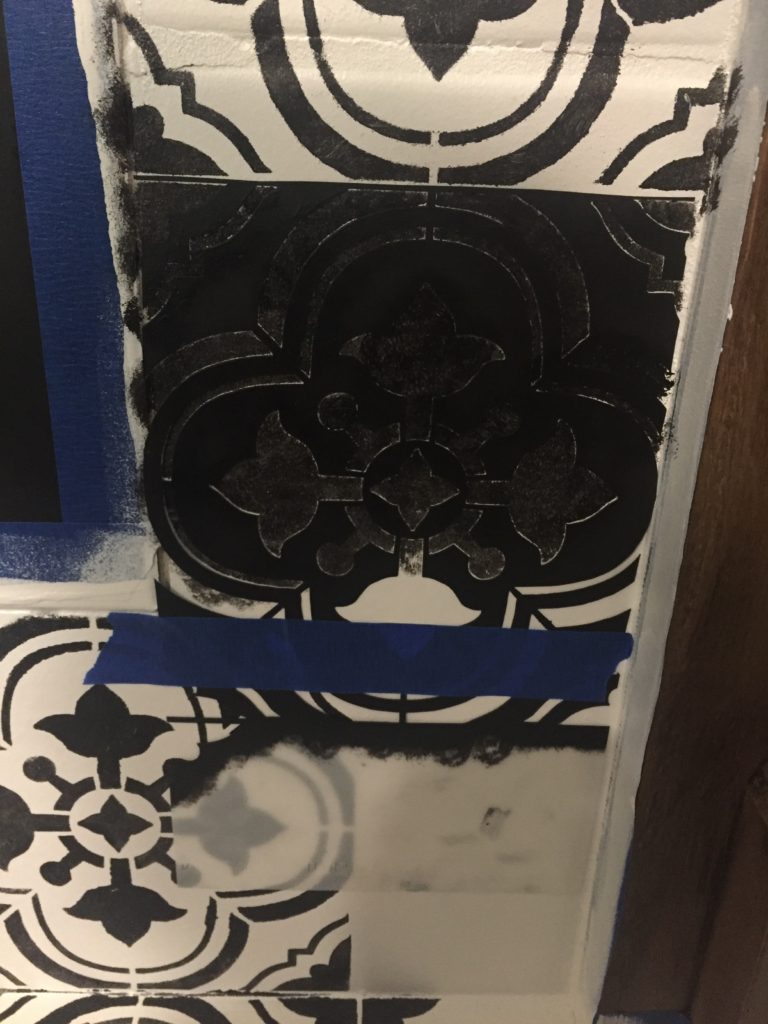
If I was able, and my stencil ran over, I used painter’s tape to section off my stencil instead of cutting it. I ended up with an entire stencil when I was finished so I can use it on another project. But I did have to cut two stencil in various pieces.
Follow for more projects on Instagram, Facebook, and Twitter! Subscribe with your e-mail to be notified of posts and fun giveaways!
Tags: fireplace, stencil
I love love love it!! It’s beautiful!
Thank you so much!
What a fabulous transformation! I absolutely love that stencil! Great job friend! 🖤
Thank you for stopping by to check it out!
Love the Hand Drawn Chevron stencil! Perfect for my bathroom!
Oh! That’s a fun one!
SO CUTE!
Thanks girl!